Resetting File Permissions in Windows Server 2008 R2

Today I needed to reset the permissions for a bunch of files in a directory on a SAS server (running Windows Server 2008 R2) so that they reverted back to the inherited permissions from the directory they were contained in (they currently had non-inherited explicit permissions for a particular user). There were too many to do by hand using point-and-click in the properties dialog so I switched to the command line.

In previous versions of Windows I had used the cacls command but I noticed in Windows Server 2008 the cacls command is deprecated and replaced with icacls. If you use the cacls command with no parameters to display the help, you will see the following message in its output:

...
NOTE: Cacls is now deprecated, please use Icacls.
...

The Microsoft TechNet site has documentation for the icacls command.

To reset an individual file’s permissions you can use:

icacls file.ext /reset

Using a wildcard to reset the permissions for a collection of files also works:

icacls *.ext /reset

Resetting the permissions on a file drops any specific/custom/explicit permissions on that file and reinstates the inherited permissions from the container/folder so that the file now only has the default inherited permissions.

Reviewing Installed SAS 9.2 Software and Hotfixes

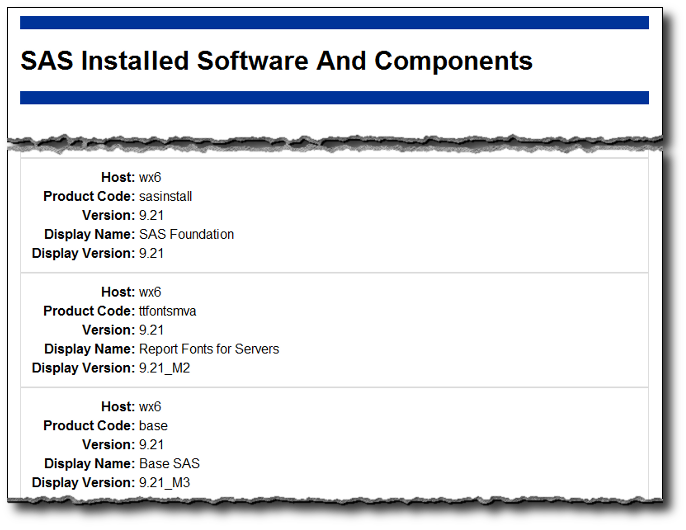
If you’ve ever needed to review which SAS® software components have been installed on your SAS servers and clients, as well as know which hotfixes may have already been installed, then you will be interested in SAS Usage Note 35968: Using the ViewRegistry Report and other methods to determine the SASĀ® 9.2 software releases and hot fixes that are installed.

The usage note provides instructions detailing how you can use a Java-based SAS utility (sas.tools.viewregistry.jar) to generate HTML and text reports (DeploymentRegistry.html and DeploymentRegistry.txt) of the installed software and hotfixes. With SAS 9.1.3 I used to manually maintain (error-prone) spreadsheets with this information, so I am very happy to be able to automate it with SAS 9.2 and get reliable information.

Now that you have this information the next logical step would be to determine which hotfixes haven’t been installed, but might need to be, then download and install them…

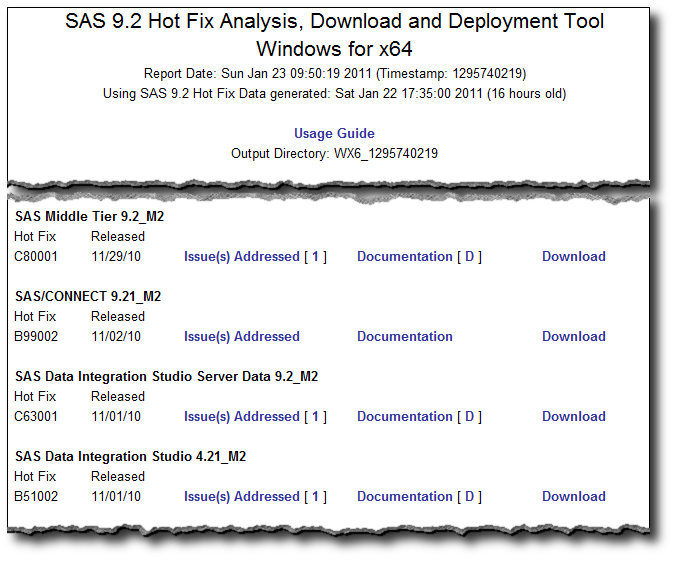
Well, the even better news is that SAS Institute also provide the SAS 9.2 Hot Fix Analysis, Download and Deployment Tool (SAS92HFADD). SAS92HFADD is another utility that compares the currently installed hotfixes against a freshly downloaded list of currently available hotfixes for the software you have installed. It generates an HTML analysis report listing all of the appropriate hotfixes together with links to the list of issues, install instructions and download for each hotfix. It even adds annotations to those hotfixes that require a bit more attention because they have dependencies or post-installation instructions (like rebuilding and redeploying web apps). As well as the report you also get a script to download all of the hotfixes and another script to silently install them all. I was very impressed. I think I’m going to like using this utility :)

One thing that tripped me up when I first tried to run SAS92HFADD (because in my excitement I skimmed over the instructions too quickly), was that you need to manually run ViewRegistry to get a DeploymentRegistry.txt file to drop into the SAS92HFADD directory. It would be great if a future version did this automatically. I’d also be quite keen to see it all managed from a central admin console that reaches out to all the SAS servers and clients in an organization to collect this information and optionally push out selected hotfixes. Perhaps this could be a suggestion for the SASware Ballot?

For those who run SAS software on Windows Server 2008 R2, you might run into the same User Access Control issues I did, so I’ll do a follow up post specifically on using ViewRegistry and SAS92HFADD on Windows Server 2008 R2.

SAS Web Report Studio In-Process Scheduling Port Allocations for Lev1, Lev2 …

Today I was installing SAS 9.2 with the latest 4.3 web apps on Linux 64-bit (from a very new 920_11w03 depot). After successfully setting up a Lev1 environment I then went on to create a Lev2 environment (on the same machine). All was going ok until I got to the page in the SAS Deployment Wizard where you choose the SAS Web Report Studio: In-Process Scheduling Ports. This is what it looked like:
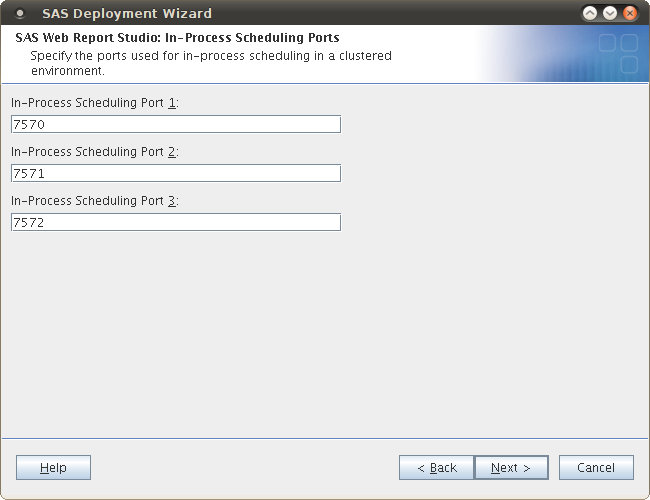
These ports (7570, 7571, 7572) looked very familiar. Checking my notes I saw that they were the very same ports from the Lev1 configuration. This was odd because I had specifically selected Lev2 in an earlier page and although all of my other ports were automatically incremented for a Lev2 environment (e.g. 8561 to 8562, 8591 to 8592 etc.) these ports were the same as the Lev1 ports.

This sounded like a recipe for a port clash so I needed to pick some alternative ports. I prefer to stick with standard well-known ports for SAS where I can, so I went looking for resources. I spent a fair amount of time searching but I finally found what I needed at the bottom of the the following page:
SAS(R) 9.2 Intelligence Platform: Web Application Administration Guide, Fourth Edition > SAS Web Report Studio Administration > Configuring SAS Web Report Studio > Modify Port Numbers for In-Process Scheduling in a Clustered Environment

The SAS document explains that SAS Web Report Studio 4.3 has 30 ports available in the range of 7560 to 7589. The defaults ports for Lev1 are 7570, 7571 and 7572 (as I saw in the installation) and incrementing blocks of 3 can be used for other levels. i.e. Lev2 would use 7573, 7573 and 7574 and so on. Based on my experience above I assume these assignments haven’t made it into the SAS Deployment Wizard as yet.

It is also possible to set the ports after the installation from with the SAS Management Console as explained at the end of the SAS document.

Armed with this info I drew up the following table I can refer to with future installations:

  In-Process
Scheduling
Port 1
In-Process
Scheduling
Port 2
In-Process
Scheduling
Port 3
Lev 1: 7570 7571 7572
Lev 2: 7573 7574 7575
Lev 3: 7576 7577 7578
Lev 4: 7579 7580 7581
Lev 5: 7582 7583 7584
Lev 6: 7585 7586 7587
Lev 7: 7588 7589 7560
Lev 8: 7561 7562 7563
Lev 9: 7564 7565 7566
Lev 0: 7567 7568 7569

You might notice in the Lev7 row that the third port drops down to 7560 rather than incrementing to 7590. I did this because the documentation suggests the range is only 30 ports from 7560-7589. I haven’t yet tried using a port outside that range to see what happens (I don’t know if WRS validates the port number before it uses it).

Now I have my Lev2 port numbers I can carry on with my installation.

Disabling the Ubuntu Login Screen (GDM) User Pick List

I’m used to typing in both my userid and my password when I log in to computers. I have never been a fan of the user pick lists that now seem to be common to many operating systems. I can see how they can be convenient for family machines at home, but the idea of advertising a list of potential accounts to compromise doesn’t sit well with me, so my preference is to disable the pick list and go back to the traditional typed userid & password form.

I run SAS on Ubuntu and recent Ubuntu versions (I forget which one it started with) now have a user pick list by default. The method for disabling the user pick list in Ubuntu is not that obvious and I find myself googling it every time I need it. A good article that provides both command line and GUI methods of disabling the user list can be found at Disabling the Login Screen User List in Ubuntu

The command line version is:

sudo -u gdm gconftool-2 --set --type boolean /apps/gdm/simple-greeter/disable_user_list true

This can be followed by a quick restart of GDM:

restart gdm

.. and the user pick list is no more.

With Lucid (Ubuntu 10.04 LTS) there is still a redundant login button that needs to be clicked before you get to type your user id, but it’s still better than before. There has been a bug lodged for this behaviour (GDM without user list requires that you click Log In) and it appears to have been fixed so I look forward to seeing it when I next upgrade.